Collapser Greaves Quest
Contents
Requirements
1. You must be Level 5000 to begin this Quest
2. You must have completed the Collapser Hood ![]() (Pirate Exhibition Quest) in order to read the paper.
(Pirate Exhibition Quest) in order to read the paper.
3. You must have a higher level Knight (7k and over recommended) and a good Druid to sio. I suggest multiple of both within your team.
Creatures to Face
| Name | Creature |
|---|---|
| Ferocious Wolf | |
| Ferocious Bear | |
| Rotting Cadaver | |
| Vile Gremlin | |
| Burrowing Arachnid | |
| Ara'K Swarmer | |
| Ara'K Burrower | |
| Ara'K Minister | 
|
| Ara'K Web Tender | |
| Ara'K Hulk | 
|
| Ara'K The Deceiver (BOSS) | 
|
Rewards
1.You see Collapser Greaves ![]() (Arm:17, speed +20). It weighs 19.00 oz. It reduces all damage taken by 5%.
(Arm:17, speed +20). It weighs 19.00 oz. It reduces all damage taken by 5%.
2. Blue Prints needed to complete the Collapser Off-Hand Sword Mini Quest.
Getting to the Start
Sacred TN (2.5k Area)
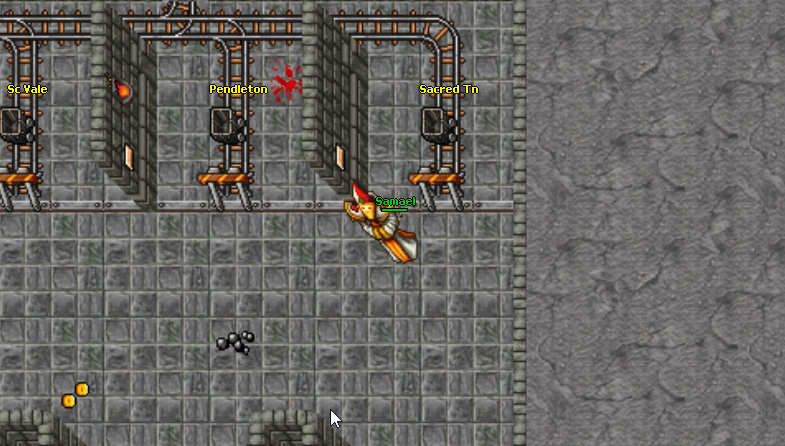
1. Enter the portal to Sacred TN.
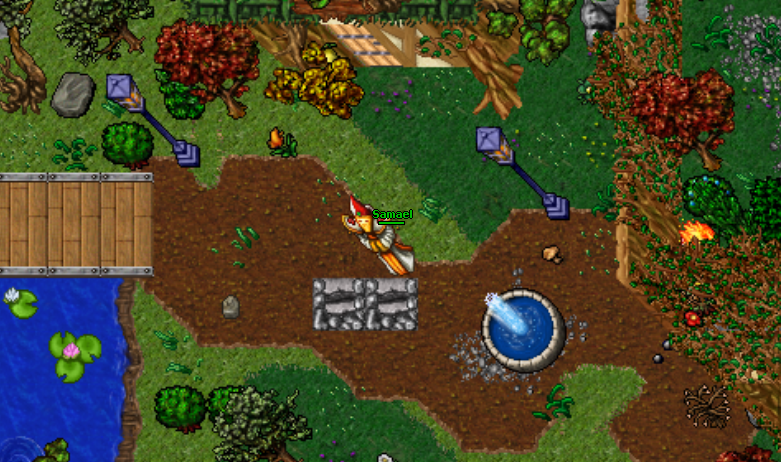
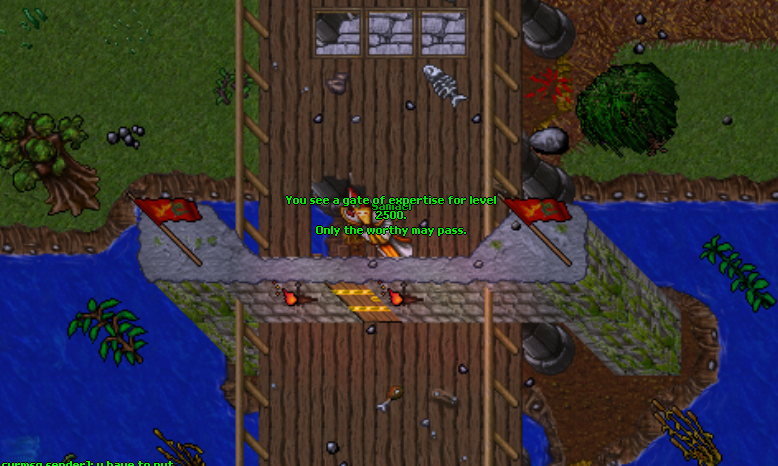
2. Make your way down the steps to begin. Once down the steps go South East and Down to the second set of steps. Once there you will continue South past the Ferocious Wolf and Ferocious Bear until you hit another set of steps containing the doorway for level 2500.
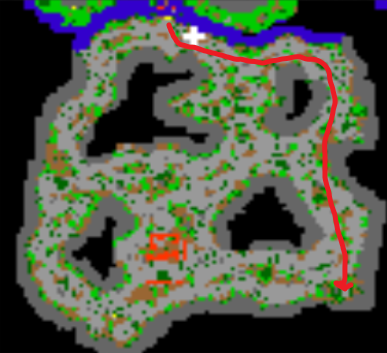
3. Once here follow my Maps to get to the level 5,000 door to begin the Quest!
4. You are now approaching the Burrowing Arachnid Cave!!!
5. 1st Level of Burrowing Arachnid Cave.
6. You see a gate of expertise for level 5000. Welcome to the Beginning!
The Beginning (Paper)
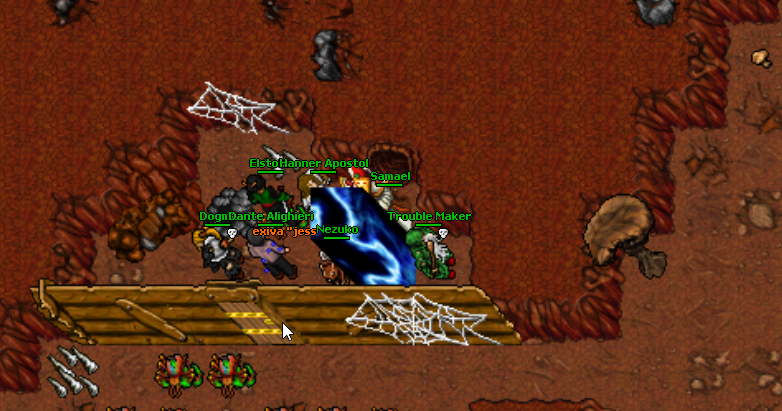
Quest Starting Point!
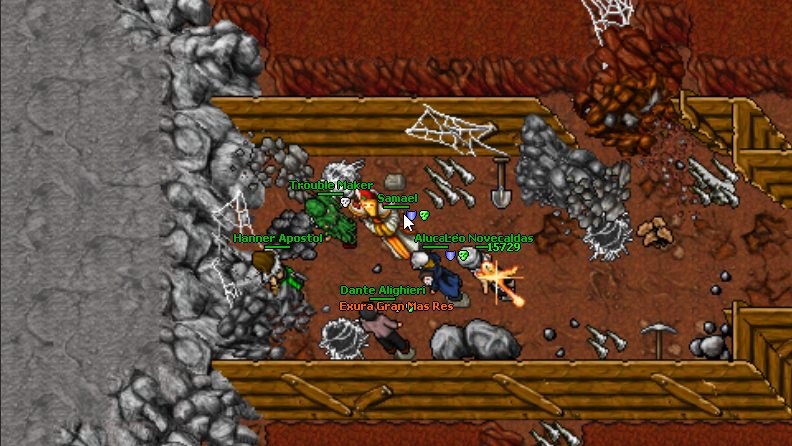
Now you and your team can begin the Quest! Head down the hole to find Ara'K Swarmers'![]() awaiting your arrival.
awaiting your arrival.
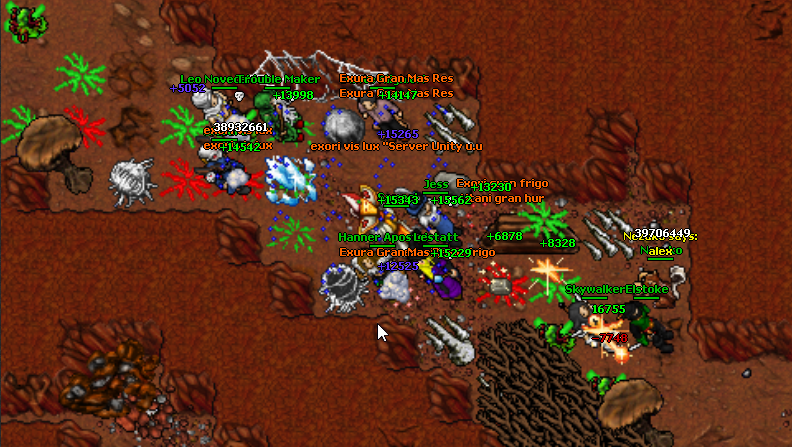
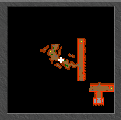
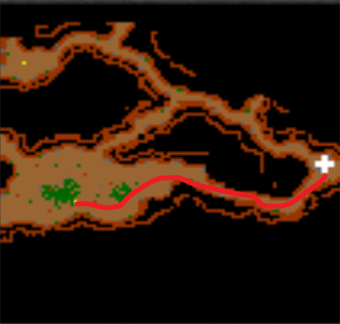
From here on out tread carefully. This is not a quest designed to run. Pace your team, and slowly move left. Once you come to the end of the path go North to find a ladder down!![]()
![]()
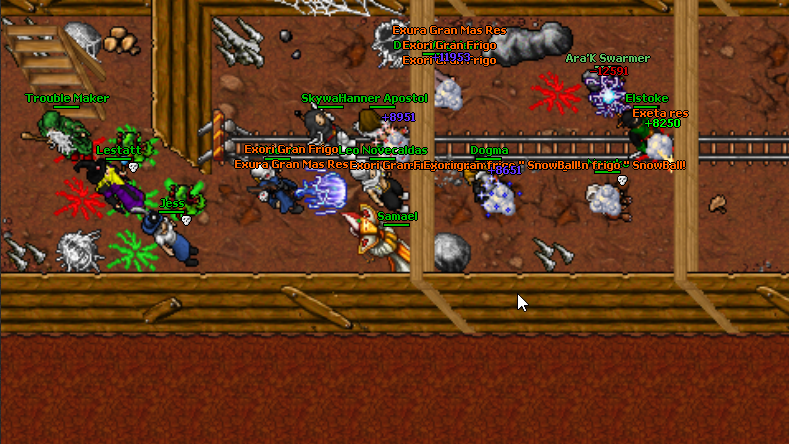
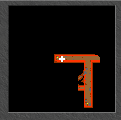
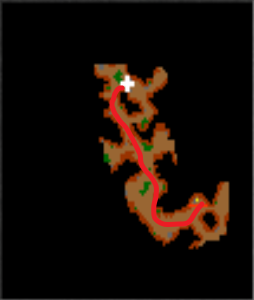
Follow the trail to the East, and then Cut South. You will pass the door you need to enter once you have collected the paper, but for now continue South, and take the ladder up!![]()
![]()
![]()
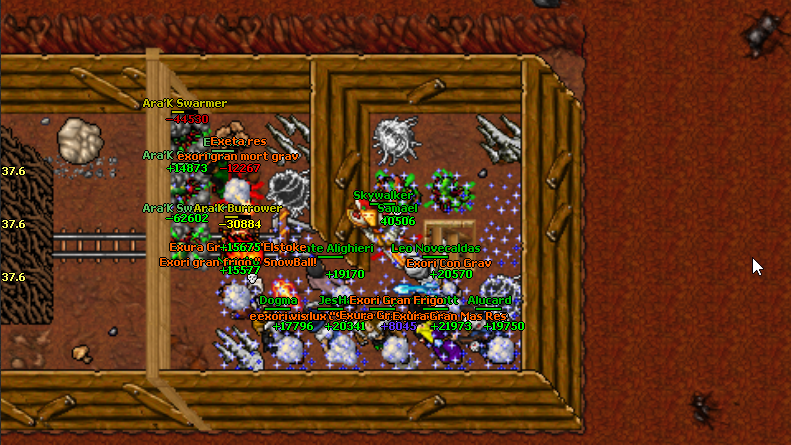
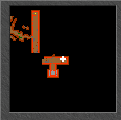
Make your way West, and then South to the Elevator!![]()
![]()
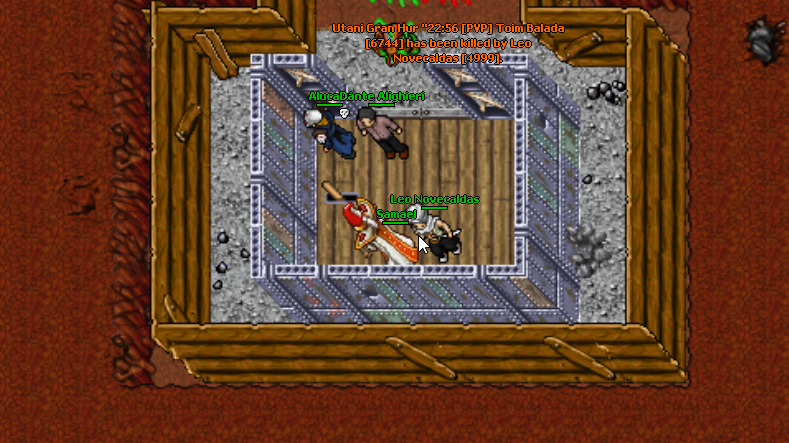
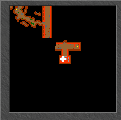
Once at the Elevator everyone get inside and right click the switch to go to a new area which is where the Paper Resides!
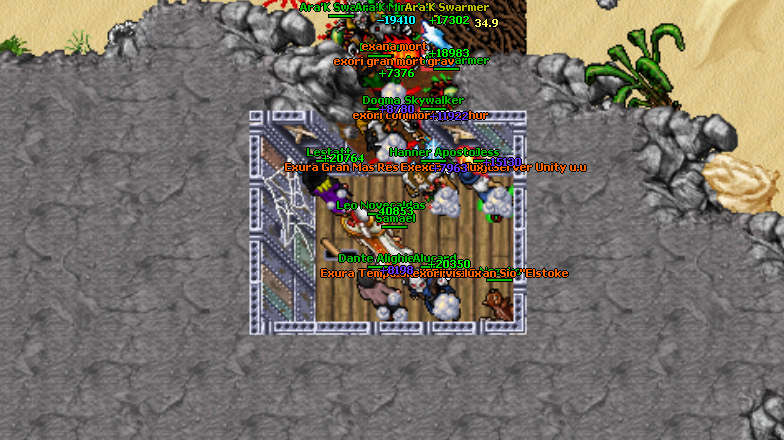
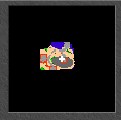
This is where the Quest gets harder. Head out of the elevator West, and then South inside the house where the paper resides. Ara'K Minister  makes an appearance along the way! Do not target the spawns! Always target the Minister first!
![]()
![]()

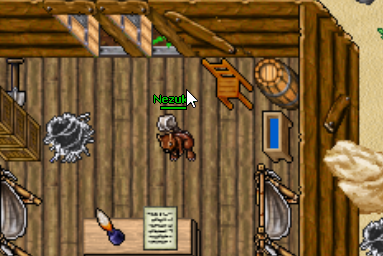
Once you are in the house Right Click the paper!
You discover the combination to the locked door in the mines.
Once you have right clicked the paper make your way back the way you came, and enter the door I talked about previously!'
The Sewer
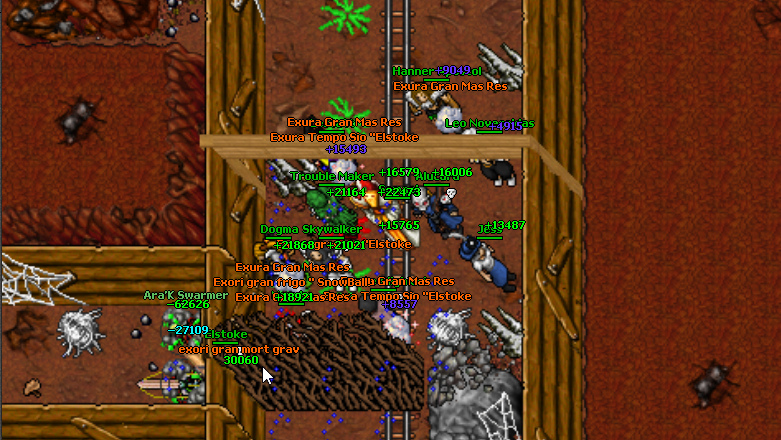
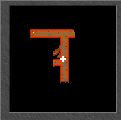
Welcome to the Sewer! Enter the door and make your way left.!![]()
![]()
![]()
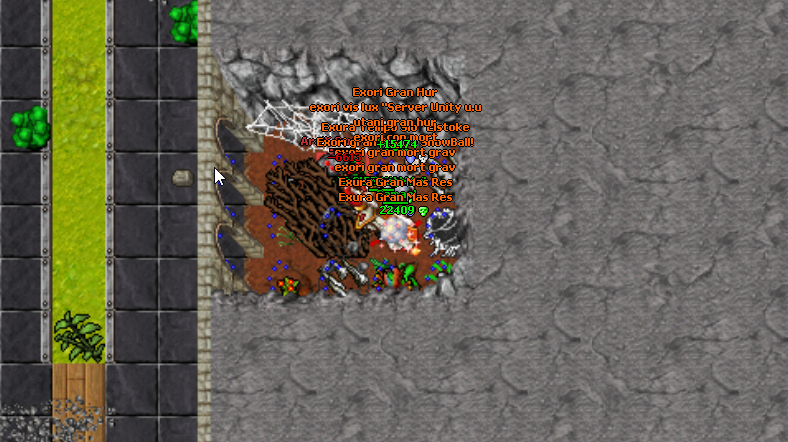
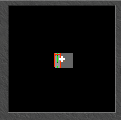
Once down the hole go South, and then turn East until you reach the stairs!![]()
![]()
![]()
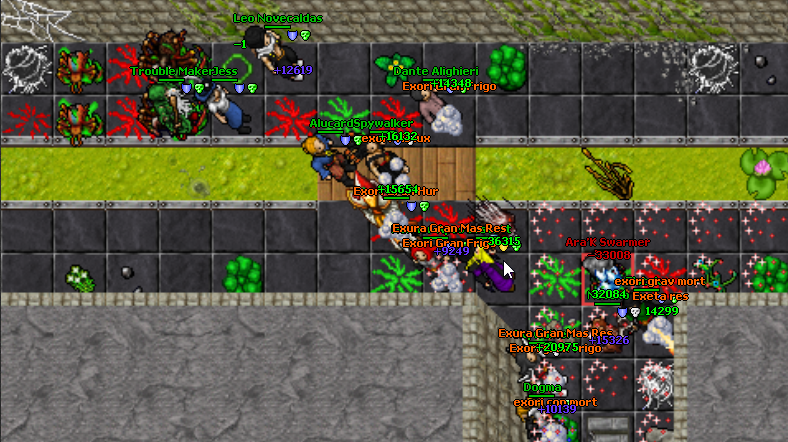
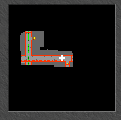
Head down the stairs and across the bridge to arrive at the Mini Temple!![]()
Mini Temple
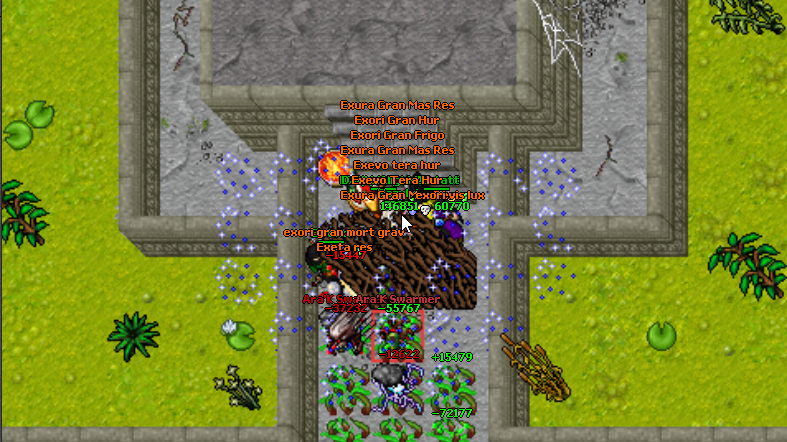
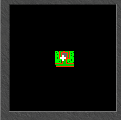
Welcome to the Mini Temple!
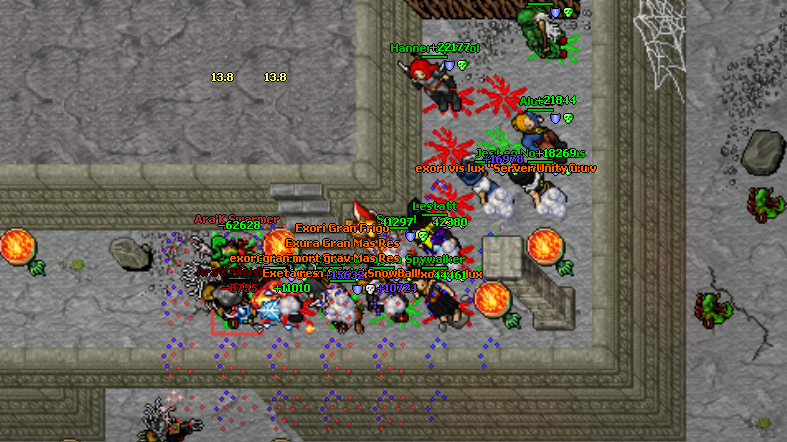
From here you can go either direction because the temple is a square. Once to the back side you can enter the mini temple. Once inside you will face an Ara'K Minister so be ready! ![]()
![]()

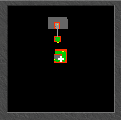
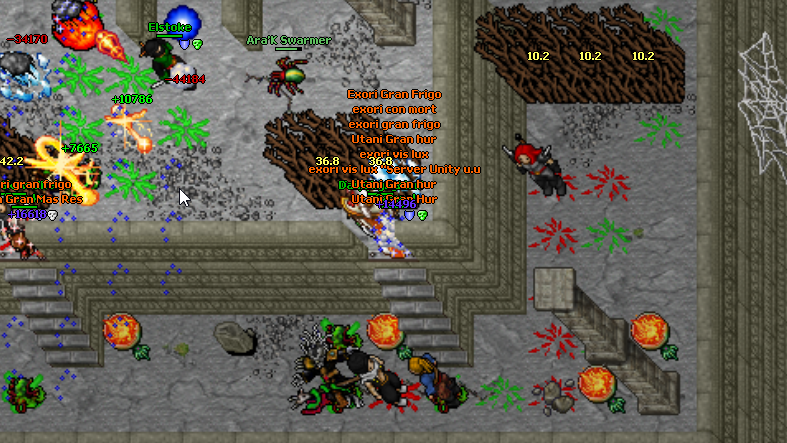
The Tip for the second level is to choose to go to the East Wall and walk South to the stairs. The reason being you will only face 1 of the Ministers if done correctly! Make sure to Tera Wall behind you once trapped on the East Side! Once everything is dead on the East head up the stairs. 
![]()
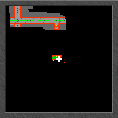
Once up the stairs there are no more Ministers on this level! Fight your way through and get to the portal!![]()
![]()
Ground Floor Main Temple
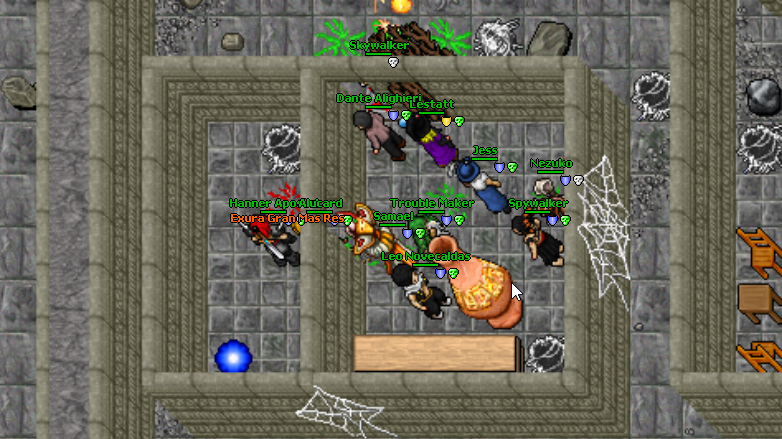
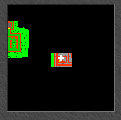
Welcome to the Main Temple!
This is the ground level. There are 3 Levers on this floor to open the Gate!![]()
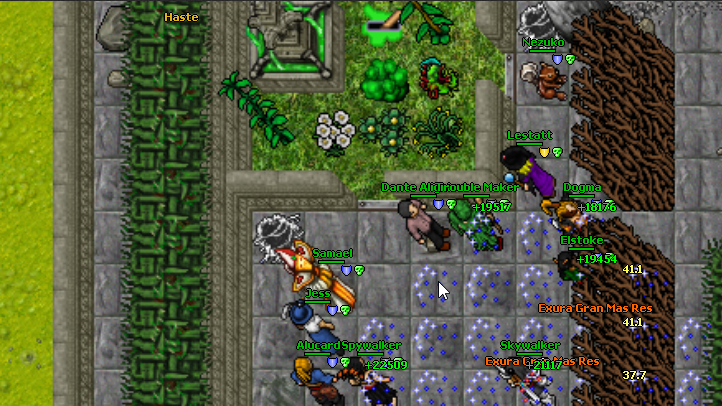
This is the location of the 1st Lever! Right Click the Lever, and continue slaying the creatures along the way!![]()
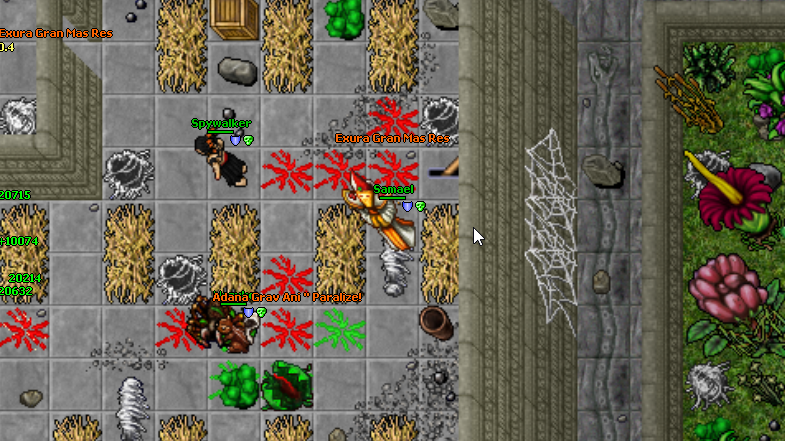
This is the location of the 2nd Lever! It is upstairs of the first building to the right of the First Lever!![]()
![]()
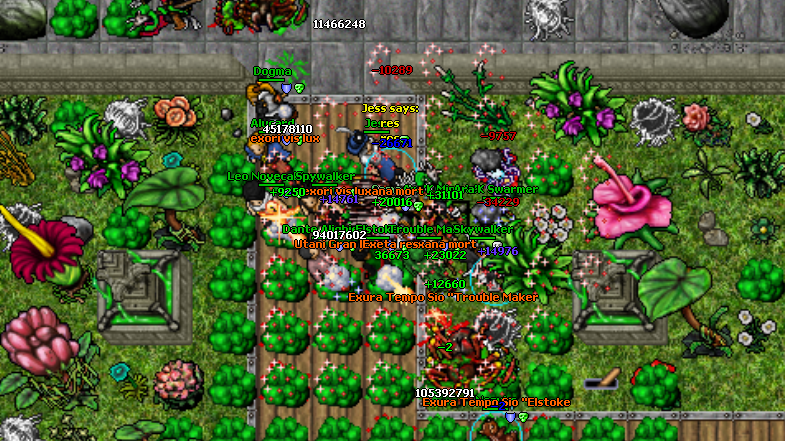
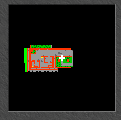
This is the location of the 3rd Lever! It is outside of the building on the East Side! BEWARE of the Ara'K Hulk! The Gate is now unlocked! Proceed to level 2 of the Main Temple!![]()
![]()


Floor 2 Main Temple
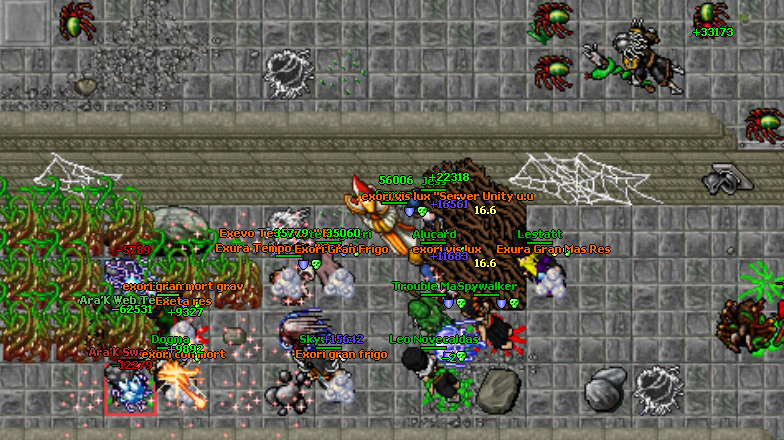
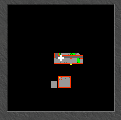
Welcome to Level 2.
There are also 3 levers here. 2 of the levers control the bridge over the swamp, and the other controls the stairs to Temple Floor 3!
This is an easy lever location. Follow the map West, and then North.![]()
![]()
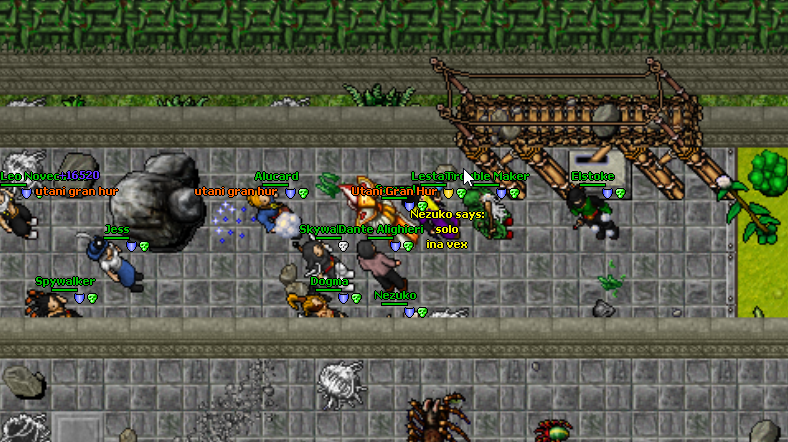
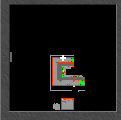
This is the location of the First Lever.
Now you need to head back down to where you started this floor, and head East. Now use the Second Lever, and then head North! Be careful! Minister will be on this side. ![]()
![]()
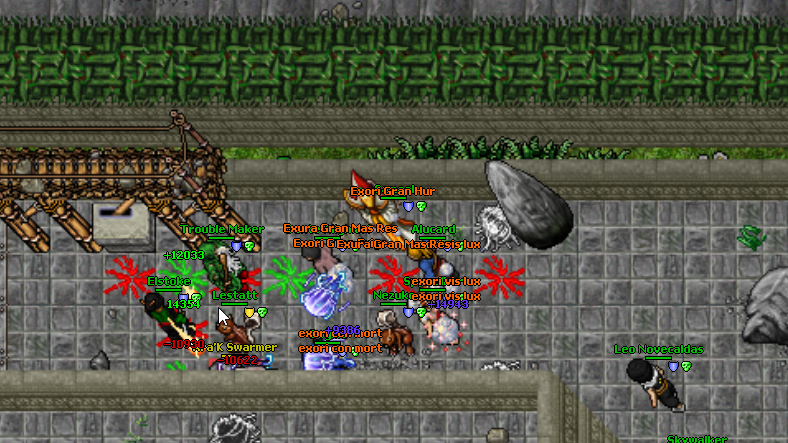
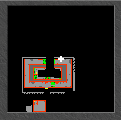
This is the location of the Third Lever. The Stairs to Floor 3 of the Main Temple have now been unlocked!![]()
![]()

Floor 3 Main Temple
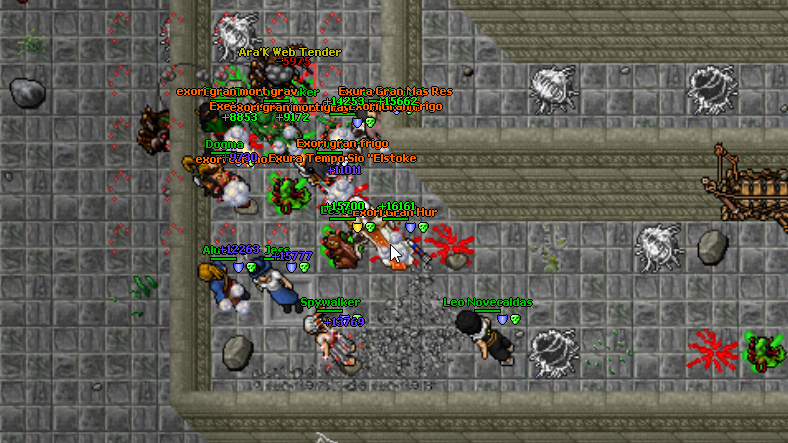
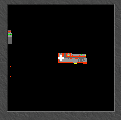
Welcome to Floor 3!
There is 1 Lever, and 4 Tiles on this stage.
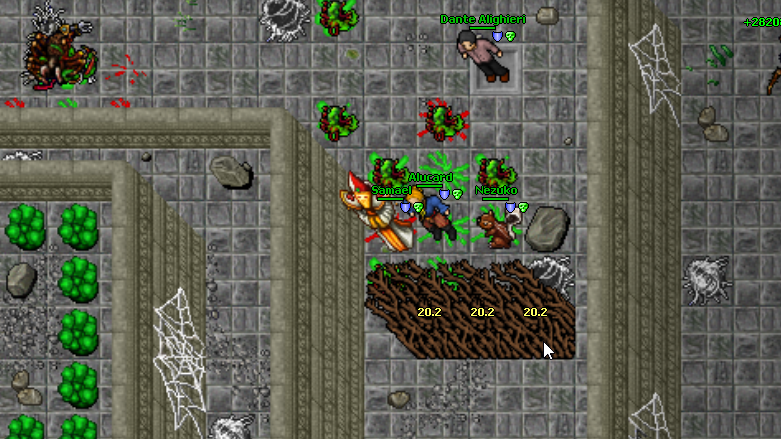
The 4 tiles are located at the 4 corners of this level. All 4 Tiles must be stood on before the Lever can be pulled!
This is the 1st Tile!
![]()
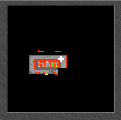
This is the 3rd Tile!'
![]()

Once all 4 Tiles are covered you may use the Lever at the beginning. Once you use the Lever the Stairs will form for you to come to the Top of the Temple!
Inside the Temple
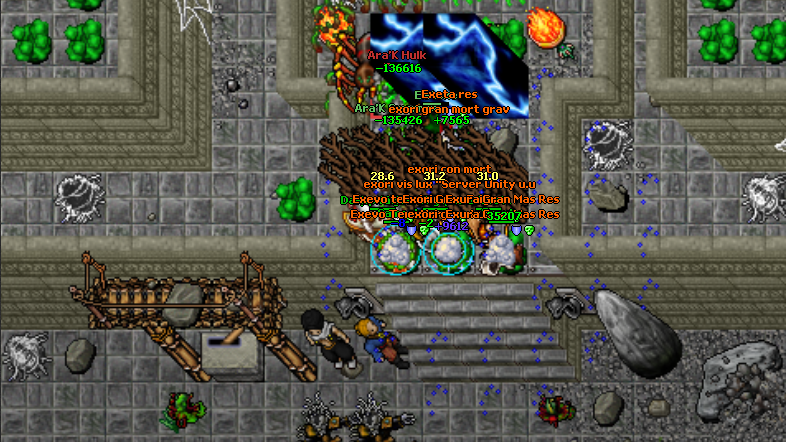
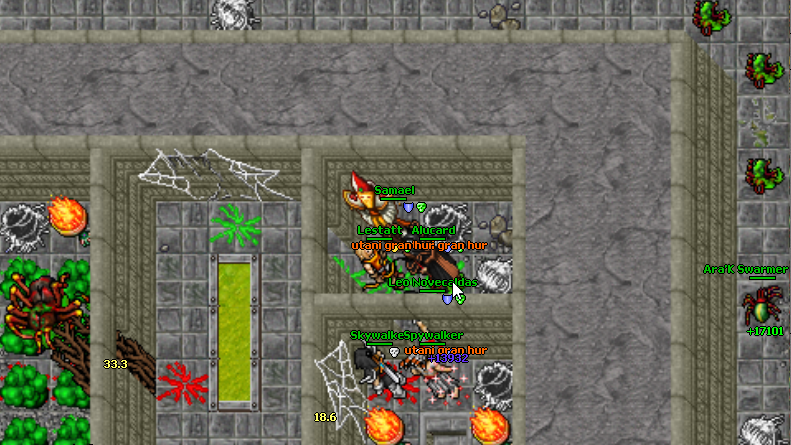
Welcome inside the Temple. As soon as you walk up the steps you face the Ara'K Hulk! 
Head North and Head down the staircase!
Once down the stairs be ready for 2 Ara'K Hulks, and an Ara'K Swarmer. Head East and you will see the Stairs.![]()

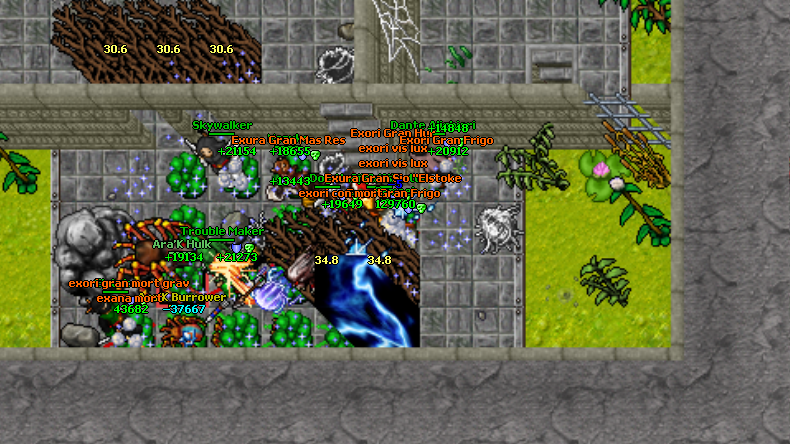
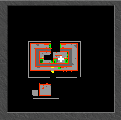
This is the hardest room of them yet!
If you want to survive Tera Wall the entry ways like shown above!
Once everything is vanquished head down the steps in the North West or North East corner (players choice) to face the final stage!
Ara'K The Deceiver
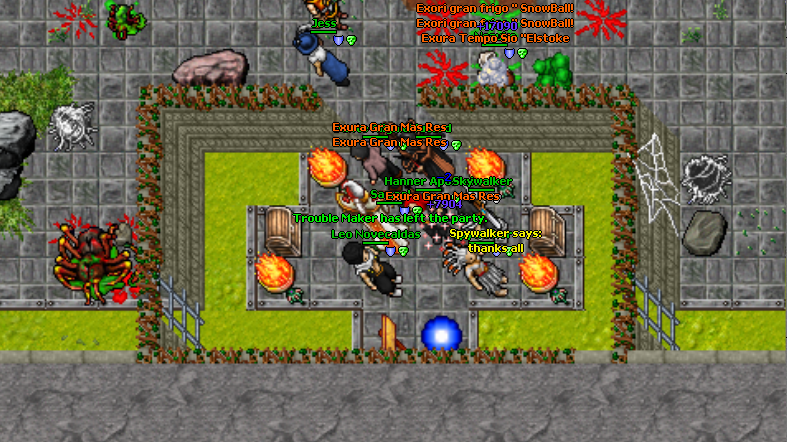
Before you decide to jump right into the boss slow down. Remember to have the Knight and Druids ready to Trap.
Below are pictures of starting with the boss spawn, and then showing how to correctly trap the Boss!
Good Luck!
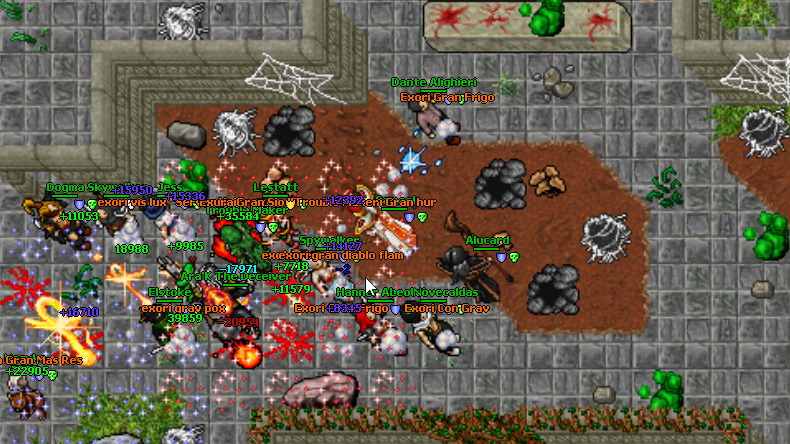
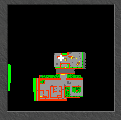
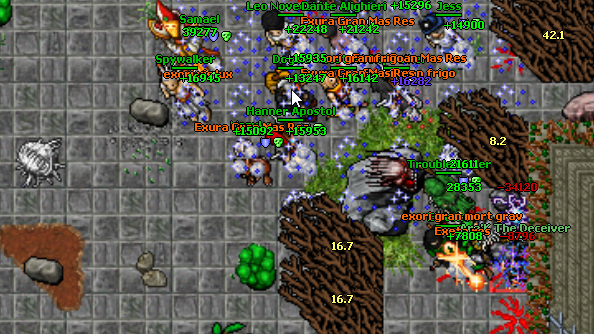
If you can vanquish Ara'K the Deceiver you may collect your rewards from the reward room!
![]()
![]()
![]()
![]()
![]()
![]()
![]()
![]() !!!!!!!!!!!!!!!!!!Congratulations!!!!!!!!!!!!!!!!!!
!!!!!!!!!!!!!!!!!!Congratulations!!!!!!!!!!!!!!!!!!![]()
![]()
![]()
![]()
![]()
![]()
![]()
![]()
You have collected the Collapser Greaves ![]() and the Blueprints needed to complete the Collapser Off-Hand Sword Mini Quest!
and the Blueprints needed to complete the Collapser Off-Hand Sword Mini Quest!
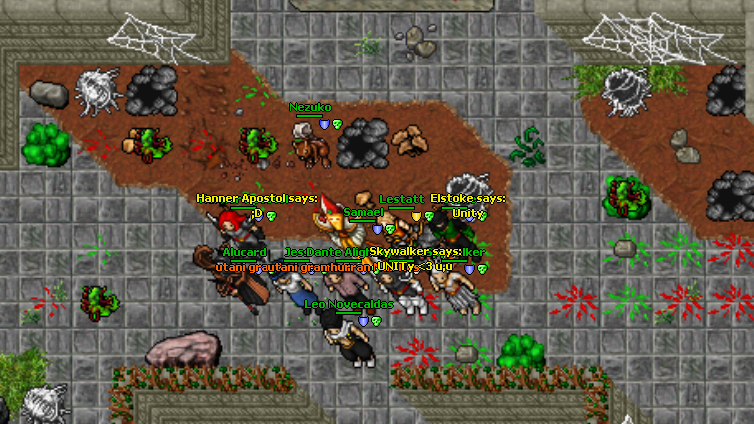
Special Thanks to Unity who was there to complete the Quest!
